Migrate data like a boss with Airbyte
Setting up Airbyte with Docker Compose and building a pipeline to migrate between two Postgres databases.
· #airbyte #docker #postgres
Published April 21, 2024

In today's data-driven world, seamless data integration and migration have become crucial for businesses to make informed decisions. Airbyte, an open-source data integration platform, simplifies this process by providing a user-friendly interface and a wide range of supported data sources and destinations.
In this blog post, we'll explore how to set up Airbyte using Docker Compose and create a pipeline to migrate data between two PostgreSQL databases.
Step 1: Install Docker and Docker Compose 🐳🔧
Before we begin, ensure that you have Docker and Docker Compose installed on your machine. Docker is a containerization platform that allows you to run applications in isolated environments called containers, while Docker Compose is a tool that helps you define and run multi-container Docker applications.
If you haven't installed Docker and Docker Compose yet, head over to the official Docker website (https://www.docker.com/get-started) and follow the instructions for your operating system.
Step 2: Clone the Airbyte Repository 📂
Open your terminal or command prompt and navigate to the directory where you want to clone the Airbyte repository. Then, run the following command to clone the repository:
git clone https://github.com/airbytehq/airbyte.git
This will create a new directory named airbyte containing the Airbyte codebase.
Step 3: Start Airbyte with Docker Compose ⚙️
Once the cloning process is complete, navigate to the airbyte directory using the following command:
cd airbyte
Now, start the Airbyte services using Docker Compose by running the following command:
docker-compose up
This command will download the required Docker images and start the Airbyte services. Grab a cup of coffee ☕ while Docker does its magic!
Step 4: Access the Airbyte UI 🌐
After the services are up and running, open your web browser and navigate to http://localhost:8000 . You should see the Airbyte UI, ready to be configured.
use the below default credentials
BASIC_AUTH_USERNAME=airbyte
BASIC_AUTH_PASSWORD=password
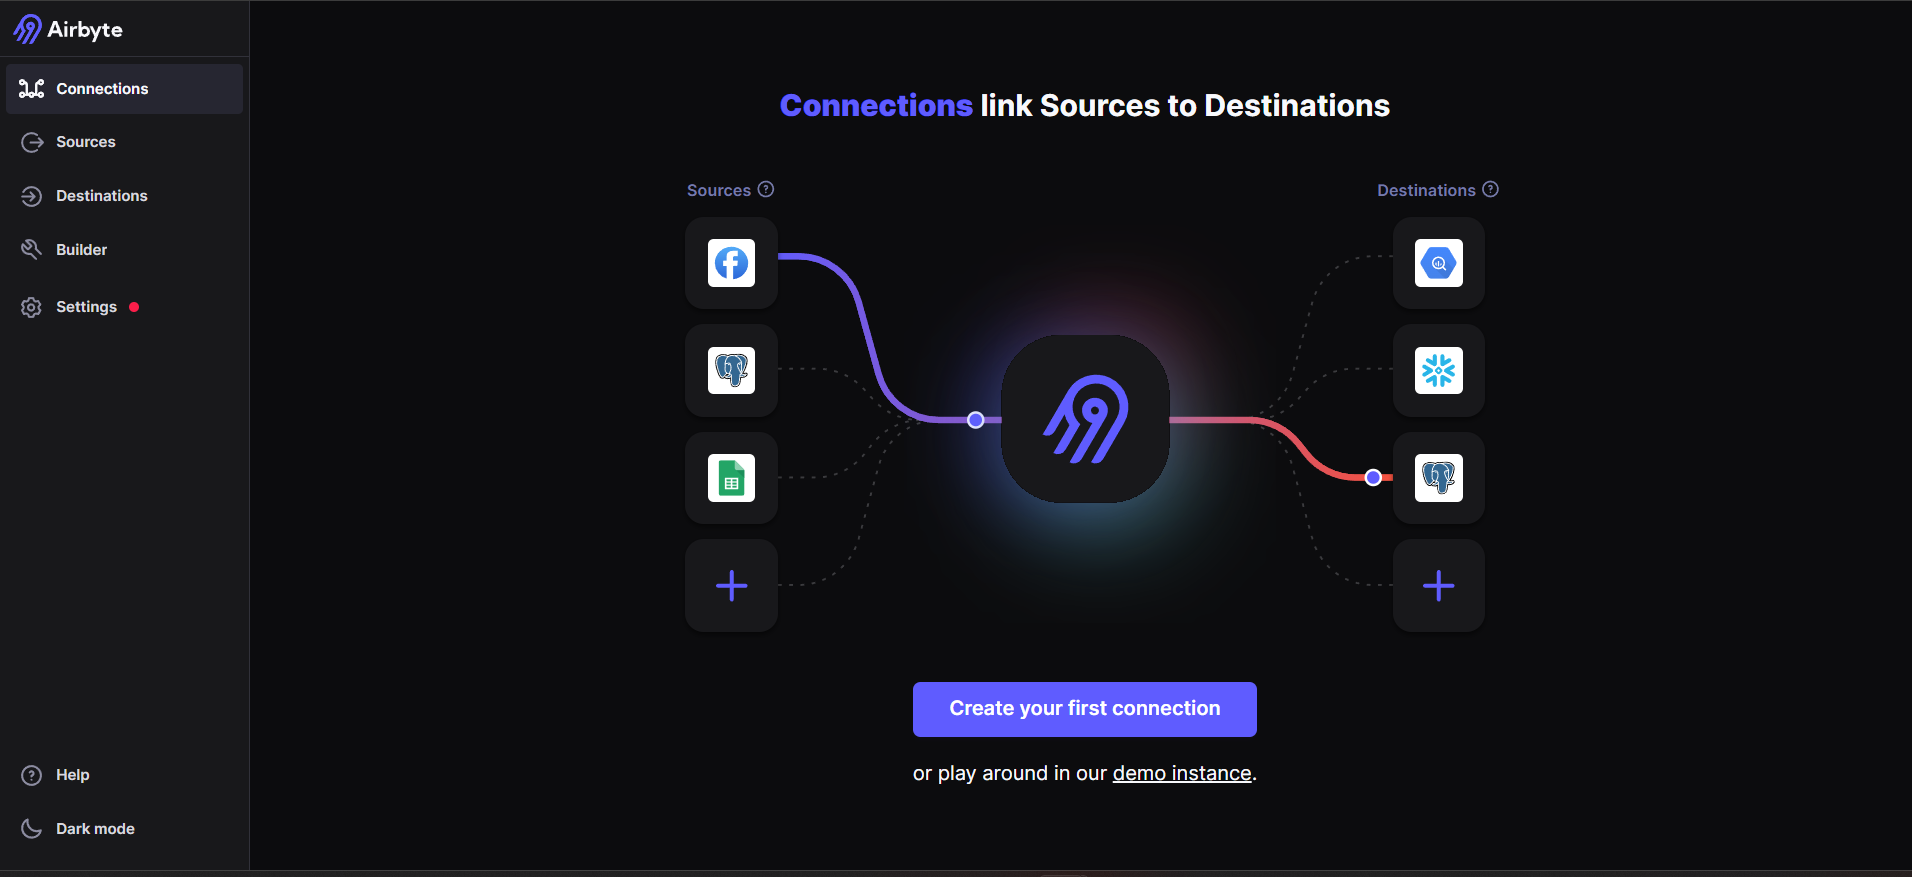
Step 5: Set up PostgreSQL as the Source 📂➡️
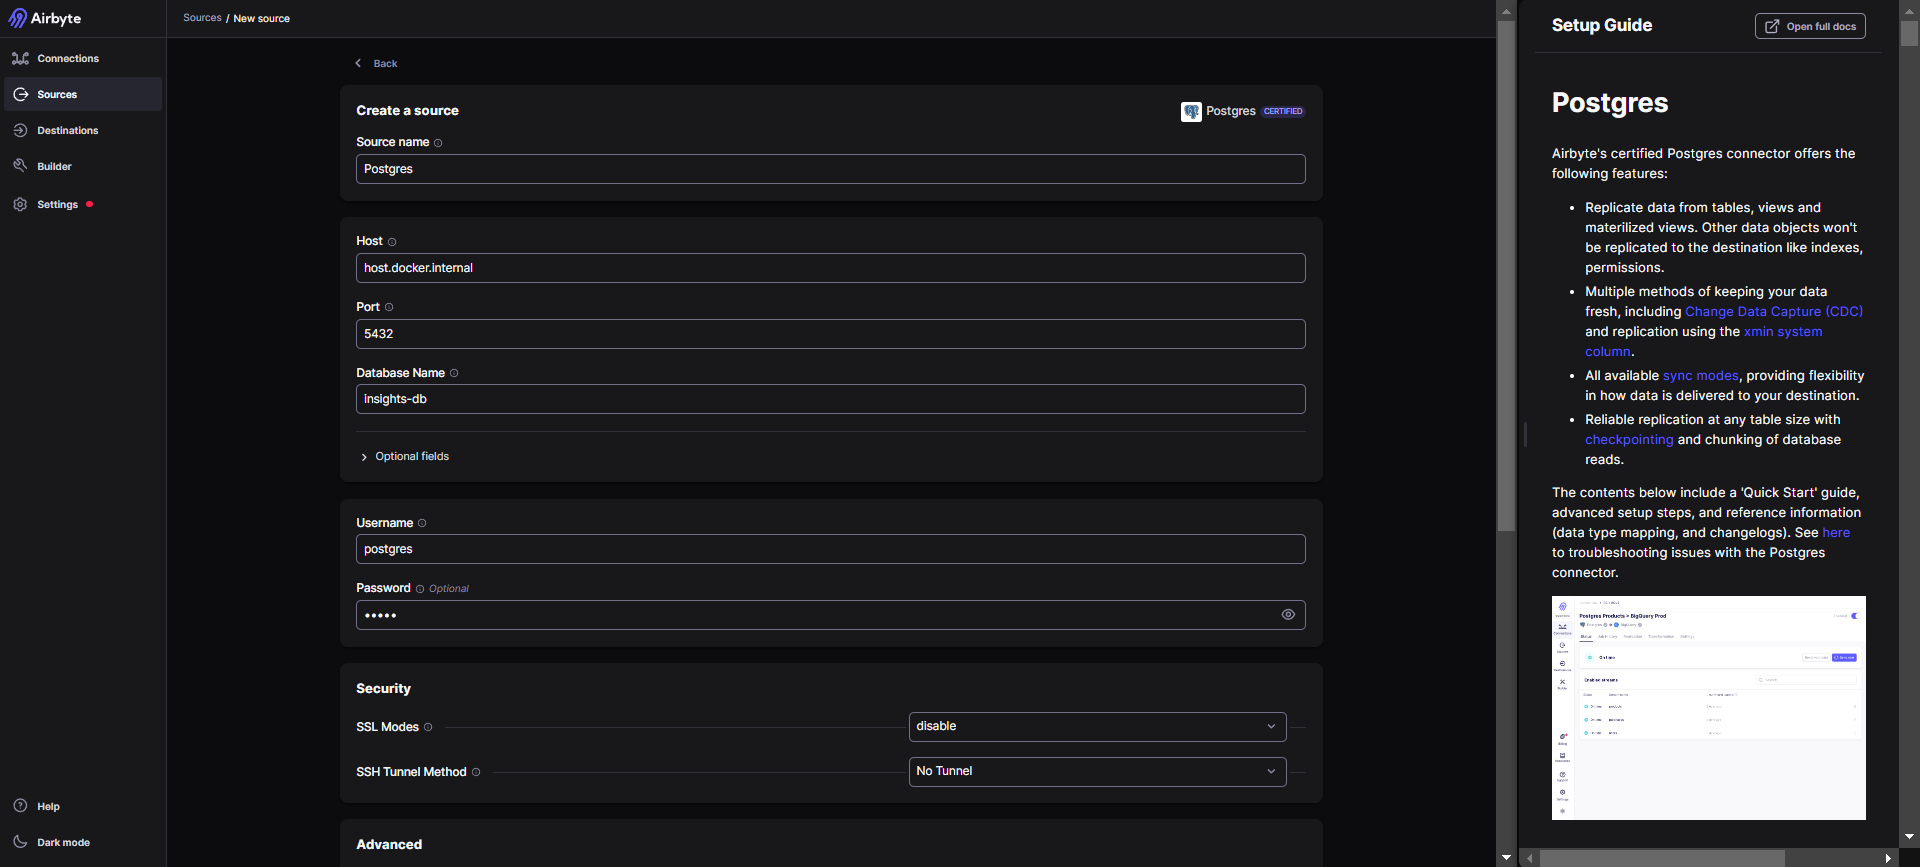
Click on "Sources" in the left-hand menu, then click "+ New Source."Search for and select the "Postgres" source.Configure the PostgreSQL connection details for your source database, including the host, port, database name, username, and password.Proceed to set up source.
# PostgreSQL Source Configuration
host: your_source_postgres_host
port: 5432
database: source_db
username: postgres
password: your_source_password
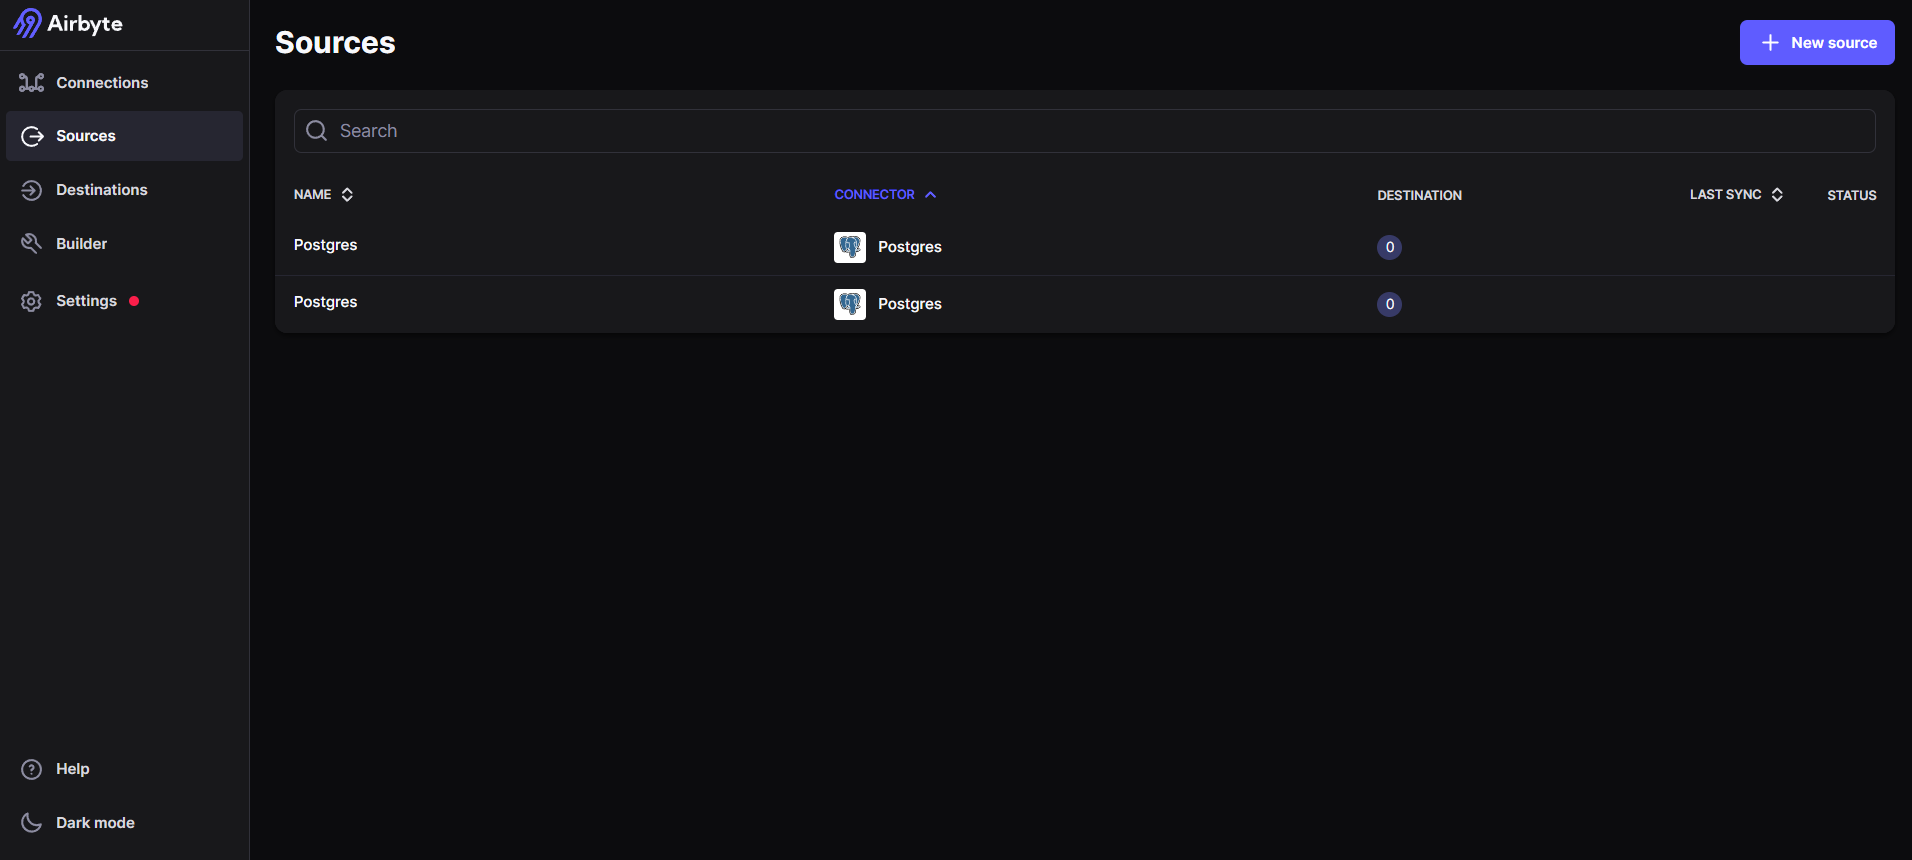
after successful connection
Step 6: Set up PostgreSQL as the Destination 📂⬅️
Click on "Destinations" in the left-hand menu, then click "+ New Destination."Search for and select the "Postgres" destination.Configure the PostgreSQL connection details for your destination database, including the host, port, database name, username, and password.Proceed to set up the destination.
# PostgreSQL Destination Configuration
host: your_destination_postgres_host
port: 5432
database: destination_db
username: postgres
password: your_destination_password
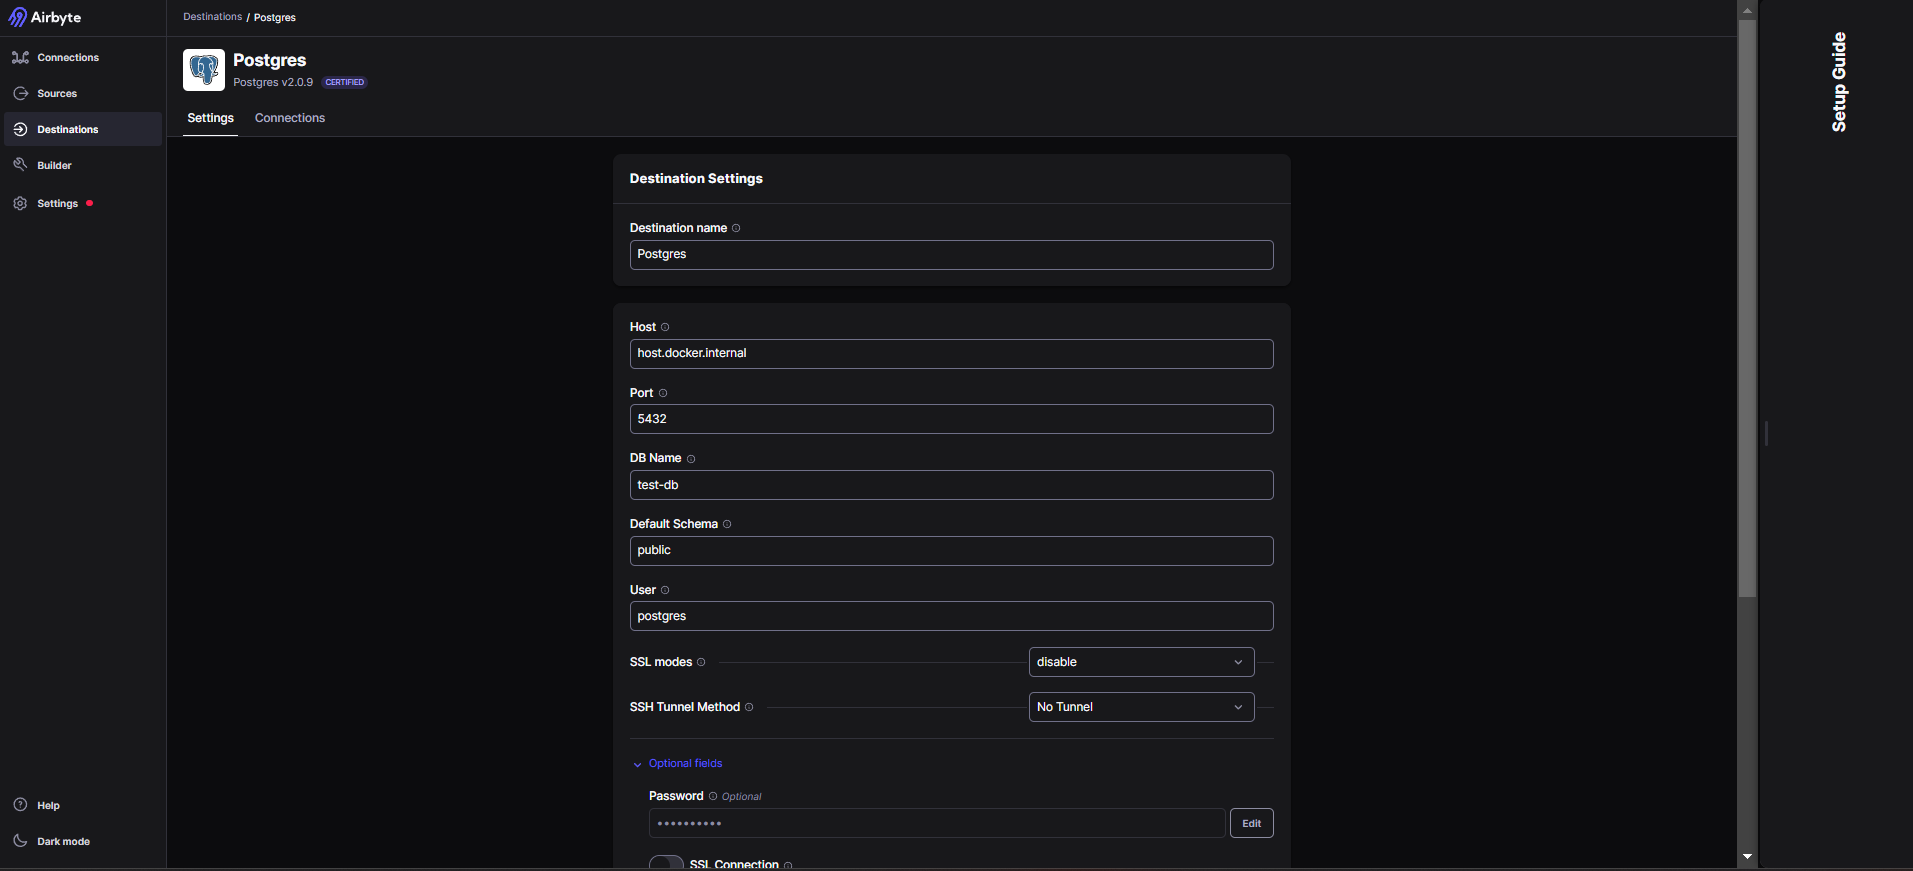
after successful connection
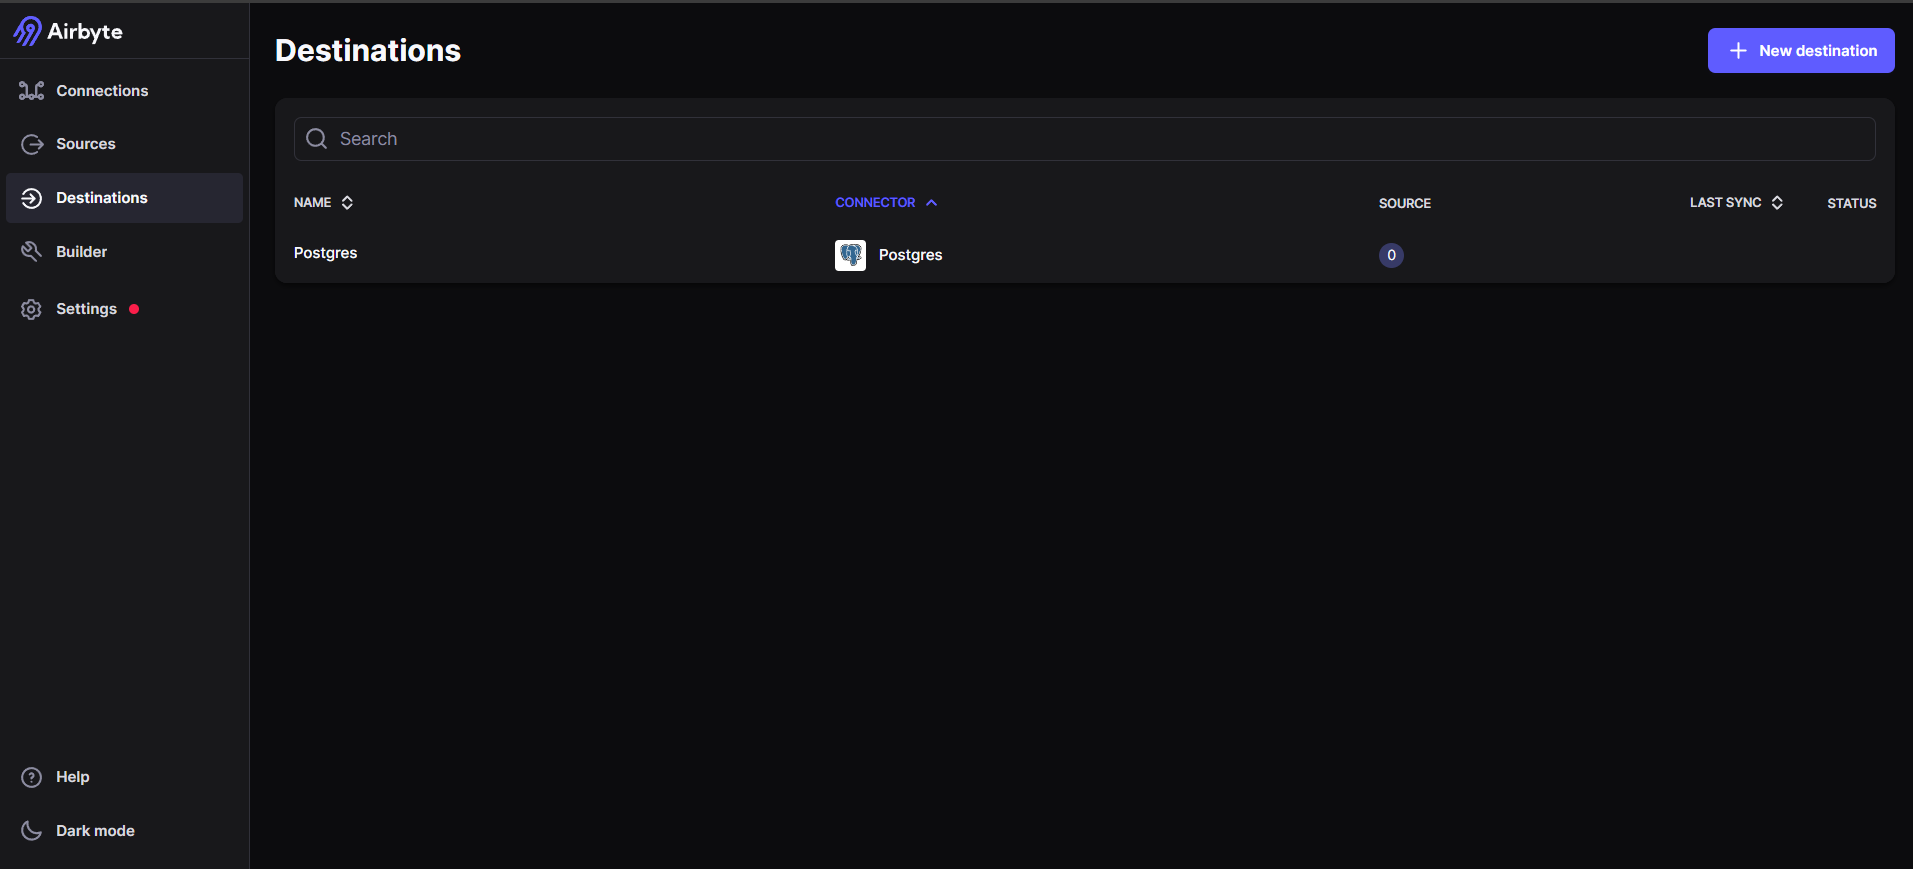
Step 7: Create a Pipeline to Migrate Data 🚰🔄
Click on "Connections" in the left-hand menu, then click "+ New Connection."Select the PostgreSQL source and destination you set up in the previous steps.Choose the data you want to migrate by selecting the schemas and tables from the source database.Configure any additional sync settings as needed, such as Schedule type,sync mode (full refresh or incremental), cursor field (for incremental syncs), and primary key (for deduplication).Click "Set up Connection" to create the pipeline.
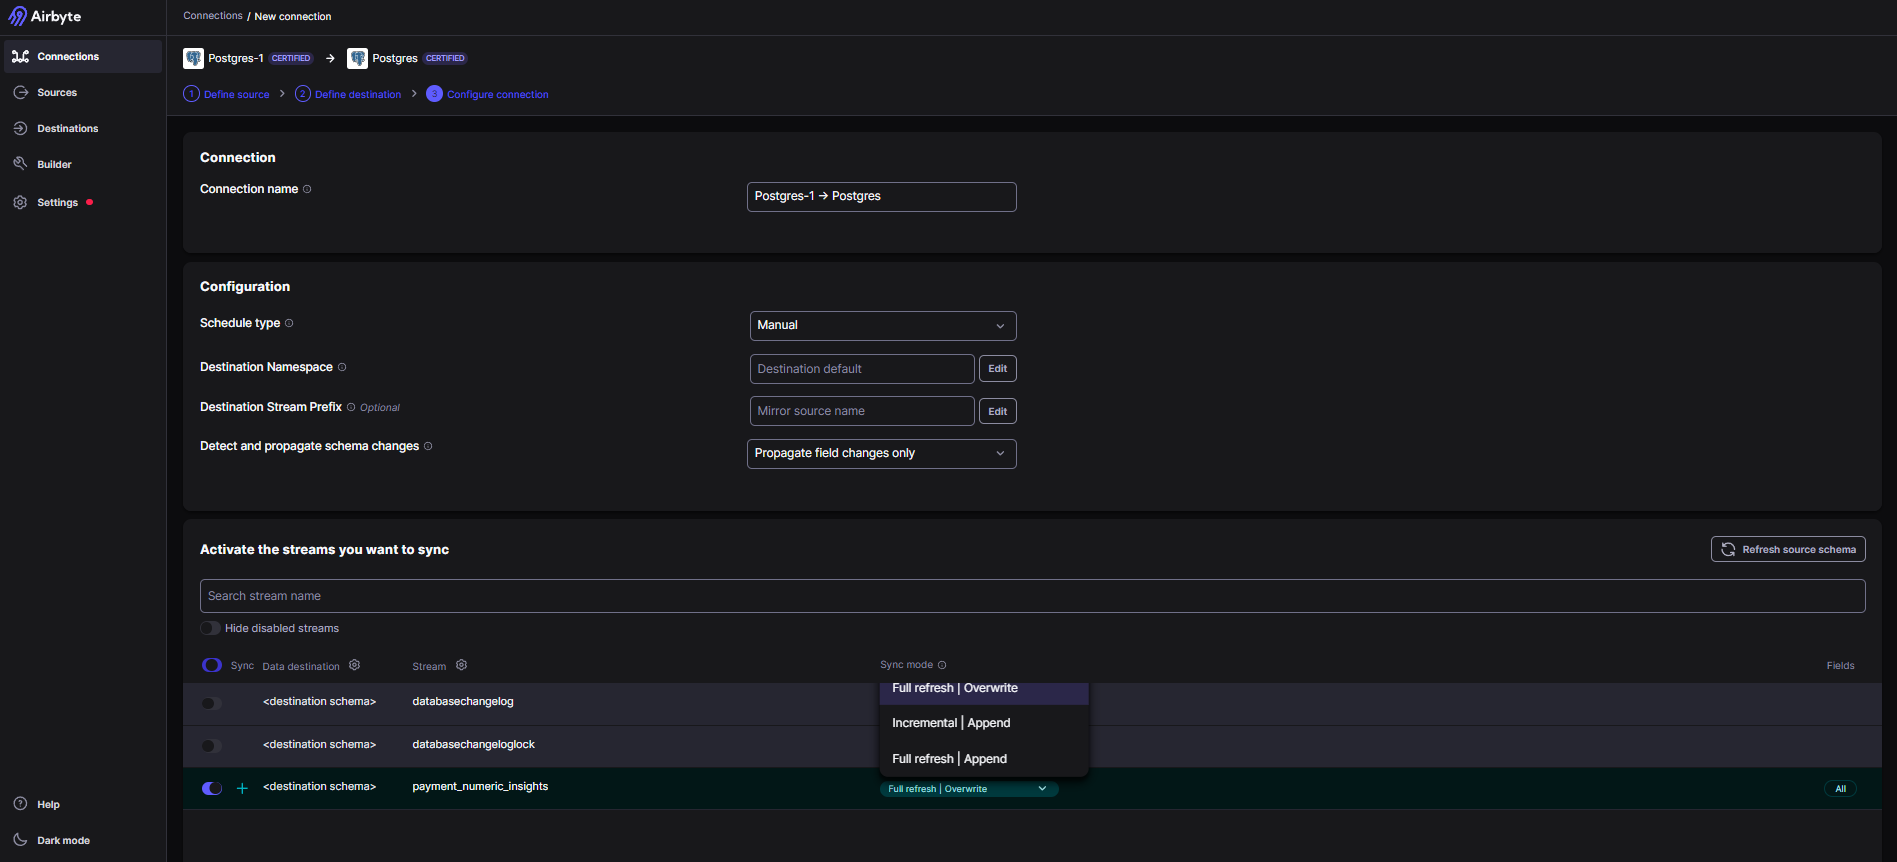
Step 8: Run the Pipeline and Monitor Progress 🚀📈
Click on the newly created connection in the "Connections" section.Click the "Sync now" button to start the data migration process.Monitor the progress in the Airbyte UI, and wait for the sync to complete successfully.
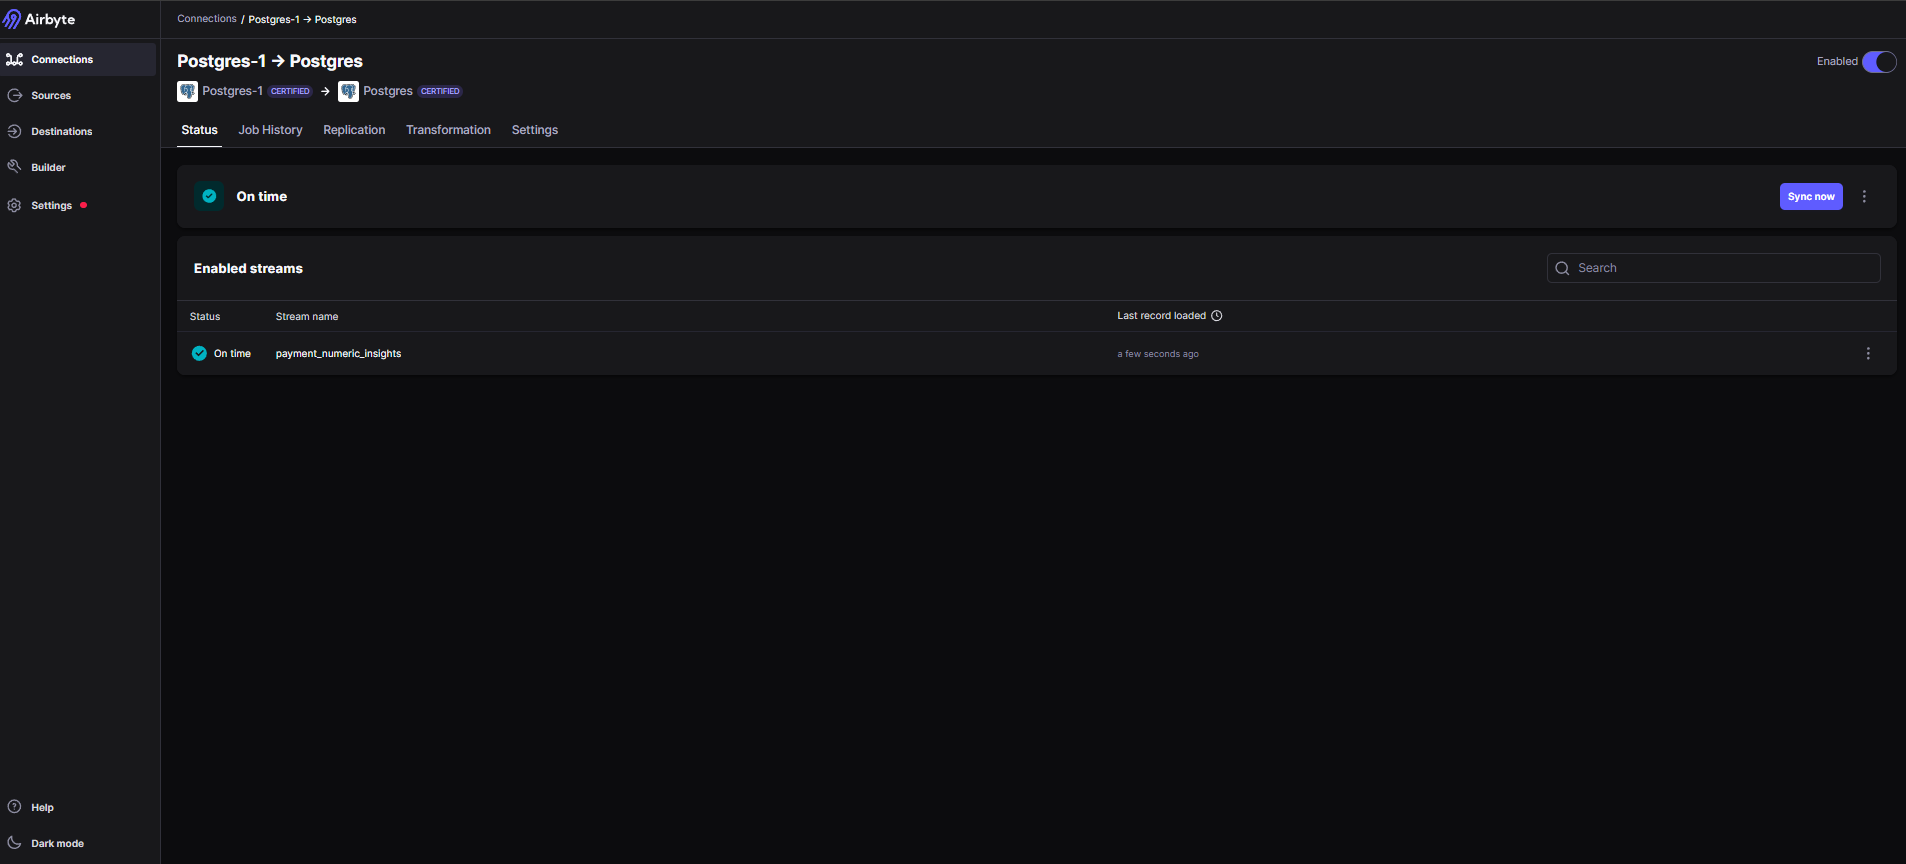
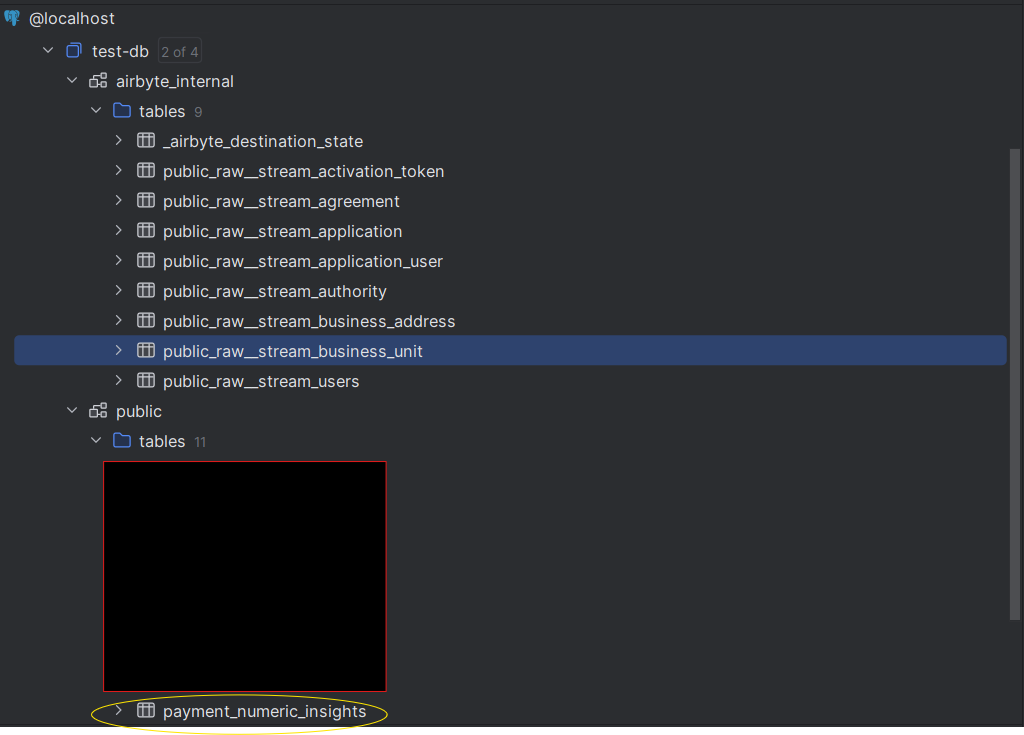
Congratulations! 🎉 You've successfully installed Airbyte using Docker Compose, added PostgreSQL as both a source and destination and created a pipeline to migrate data between the two databases. Now you can sit back, relax, and let Airbyte handle the heavy lifting of data integration for you.
Remember, this is just the beginning – Airbyte supports a wide range of sources and destinations, including databases, data warehouses, file storage services, and more. Feel free to explore and conquer new data frontiers by connecting various data sources and destinations to streamline your data integration workflows.
If you encountered any issues or want to collaborate on data integration projects, feel free to reach out to me. I'm always happy to help and learn from the community.
#DataIntegration #Airbyte #DataMigration #DataEngineering #Docker #DockerCompose #PostgreSQL #OpenSource #DataPipeline #DataOps #DataAutomation #ELT #DataReplication #DataSync #DataTransfer #DataMovement #DatabaseMigration