Creating custom NiFi processors and Dockerizing them
A step-by-step guide to writing your own Apache NiFi processor in Java and shipping it inside a Docker image.
· #nifi #docker #java
Published September 2, 2023

Introduction: Are you interested in using Apache NiFi to accelerate your data integration projects? Custom processors have the potential to transform the game! This detailed tutorial will help you through the process of designing a unique NiFi processor and elegantly incorporating it into a Docker container. 🐳
Advantages of Apache NiFi
Before diving into the technical details, let's briefly explore why Apache NIFI to choose is a go-to choice for data integration and processing:
Ease of Use : Both developers and non-technical people can utilize NiFi because of its friendly web-based user interface. By simply dragging and dropping processors, data pipelines may be made.Scalability : NiFi is made to be scalable. Thanks to its distributed architecture, NiFi is capable of handling both small-scale and high-volume enterprise solutions.Data Provenance : It provides detailed data provenance information, allowing you to track the journey of each data point through your flows. This is crucial for data governance and compliance.Security : NiFi comes with robust security features, including SSL encryption, access controls, and authentication mechanisms, ensuring the safety of your data.Extensibility : NiFi's extensible architecture allows you to create custom processors tailored to your specific needs, which is precisely what we'll explore in this guide.
Step 1: Setting Up Your Docker Compose File
First, let's create a Docker Compose file (docker-compose.yml) to deploy NiFi with our custom processor:
version: '3'

services:
  nifi:
    image: apache/nifi:latest
    ports:
      - "8443:8443"
    volumes:
      - ./nifi-data:/opt/nifi/nifi-current/data
      - ./extensions:/opt/nifi/nifi-current/extensions
      - ./custom-processors:/opt/nifi/nifi-current/lib/custom
    environment:
      NIFI_EXTRA_CLASSPATH: /opt/nifi/nifi-current/lib/custom
This Compose file defines a NiFi service, maps ports, and sets up volumes for data and custom processor libraries.
Step 2: Creating Your Custom NiFi Processor
Now, let's create a custom NiFi processor. You can use Maven to set up your project:
mvn archetype:generate \
    -DarchetypeGroupId=org.apache.nifi \
    -DarchetypeArtifactId=nifi-processor-bundle-archetype \
    -DarchetypeVersion=<your-nifi-version>
Replace <your-nifi-version> with nifi version.
Follow the prompts to configure your processor. You can add your custom logic in the generated Java class.
Step 3: Building Your Custom Processor
Next, build your custom processor using Maven:
cd your-processor-directory
mvn clean install
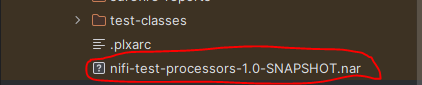
This compiles your code and creates a NiFi Processor Bundle (.nar) file in the target directory.
Step 4: Adding Your Custom Processor to Docker
Now, copy the generated .nar file to the 'custom-processors' directory defined in your Docker Compose file.
cp target/your-processor-name-version.nar ./custom-processors/
Step 5: Deploy and Run
With your custom processor in place, you're ready to deploy and run your NiFi instance with Docker:
docker-compose up -d
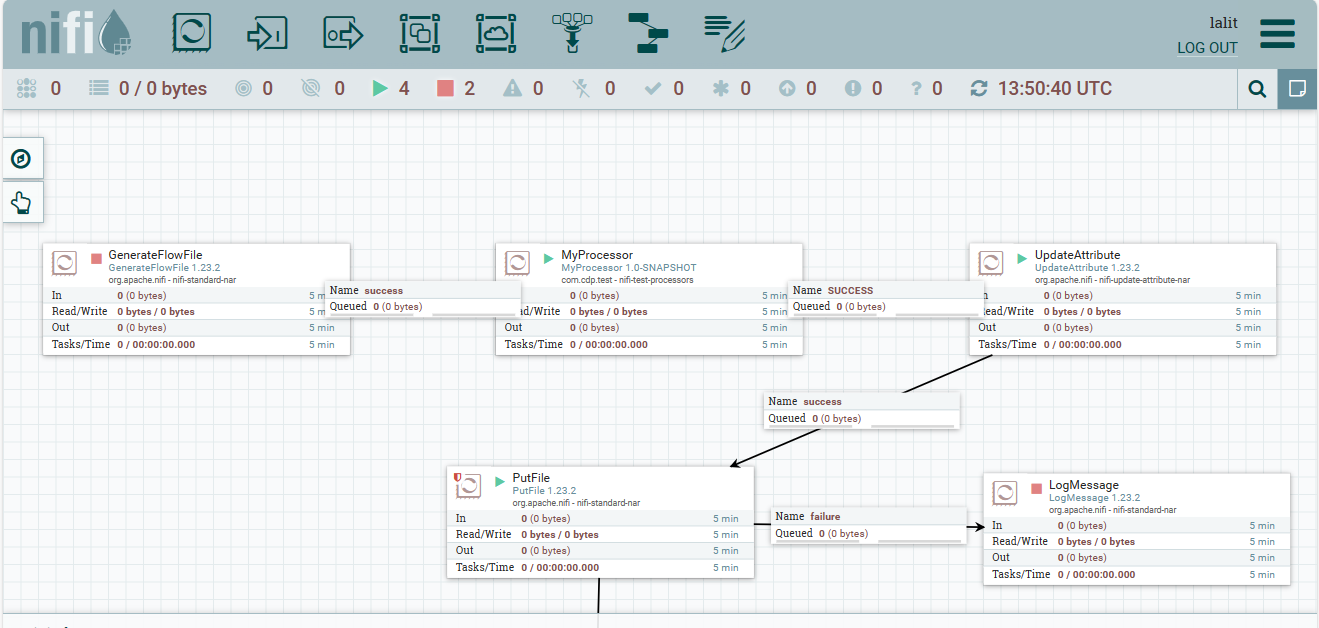
Here MyProcessor is a custom processor.
Step 6: Monitor and Test
Access NiFi's web UI at https://localhost:8443/nifi. You can create data flows and use your custom processor in your data integration pipelines.
Conclusion
You've successfully created a custom NiFi processor, integrated it into a Docker container, and unleashed its power in your data workflows! 💪
Now, go ahead, innovate, and make data integration a breeze with your custom NiFi processor. Happy data processing! 🌟🔌🐘